Who doesn’t love a dessert that’s quick, easy, and absolutely delicious? This 3 Ingredient No Bake Cheesecake is the ultimate solution for anyone craving a creamy, decadent treat without the fuss. Whether you’re short on time, don’t want to turn on the oven, or simply enjoy minimal-ingredient recipes, this cheesecake delivers on all fronts.
Perfect for beginners or seasoned bakers looking for a no-fail dessert, this recipe requires just three pantry staples and a little chilling time. Plus, it’s endlessly customizable, making it ideal for casual gatherings, family dinners, or even last-minute celebrations. Ready to whip up a sweet masterpiece? Let’s dive in!
Table of Contents
Recipe Card
Recipe name: 3 Ingredient No Bake Cheesecake
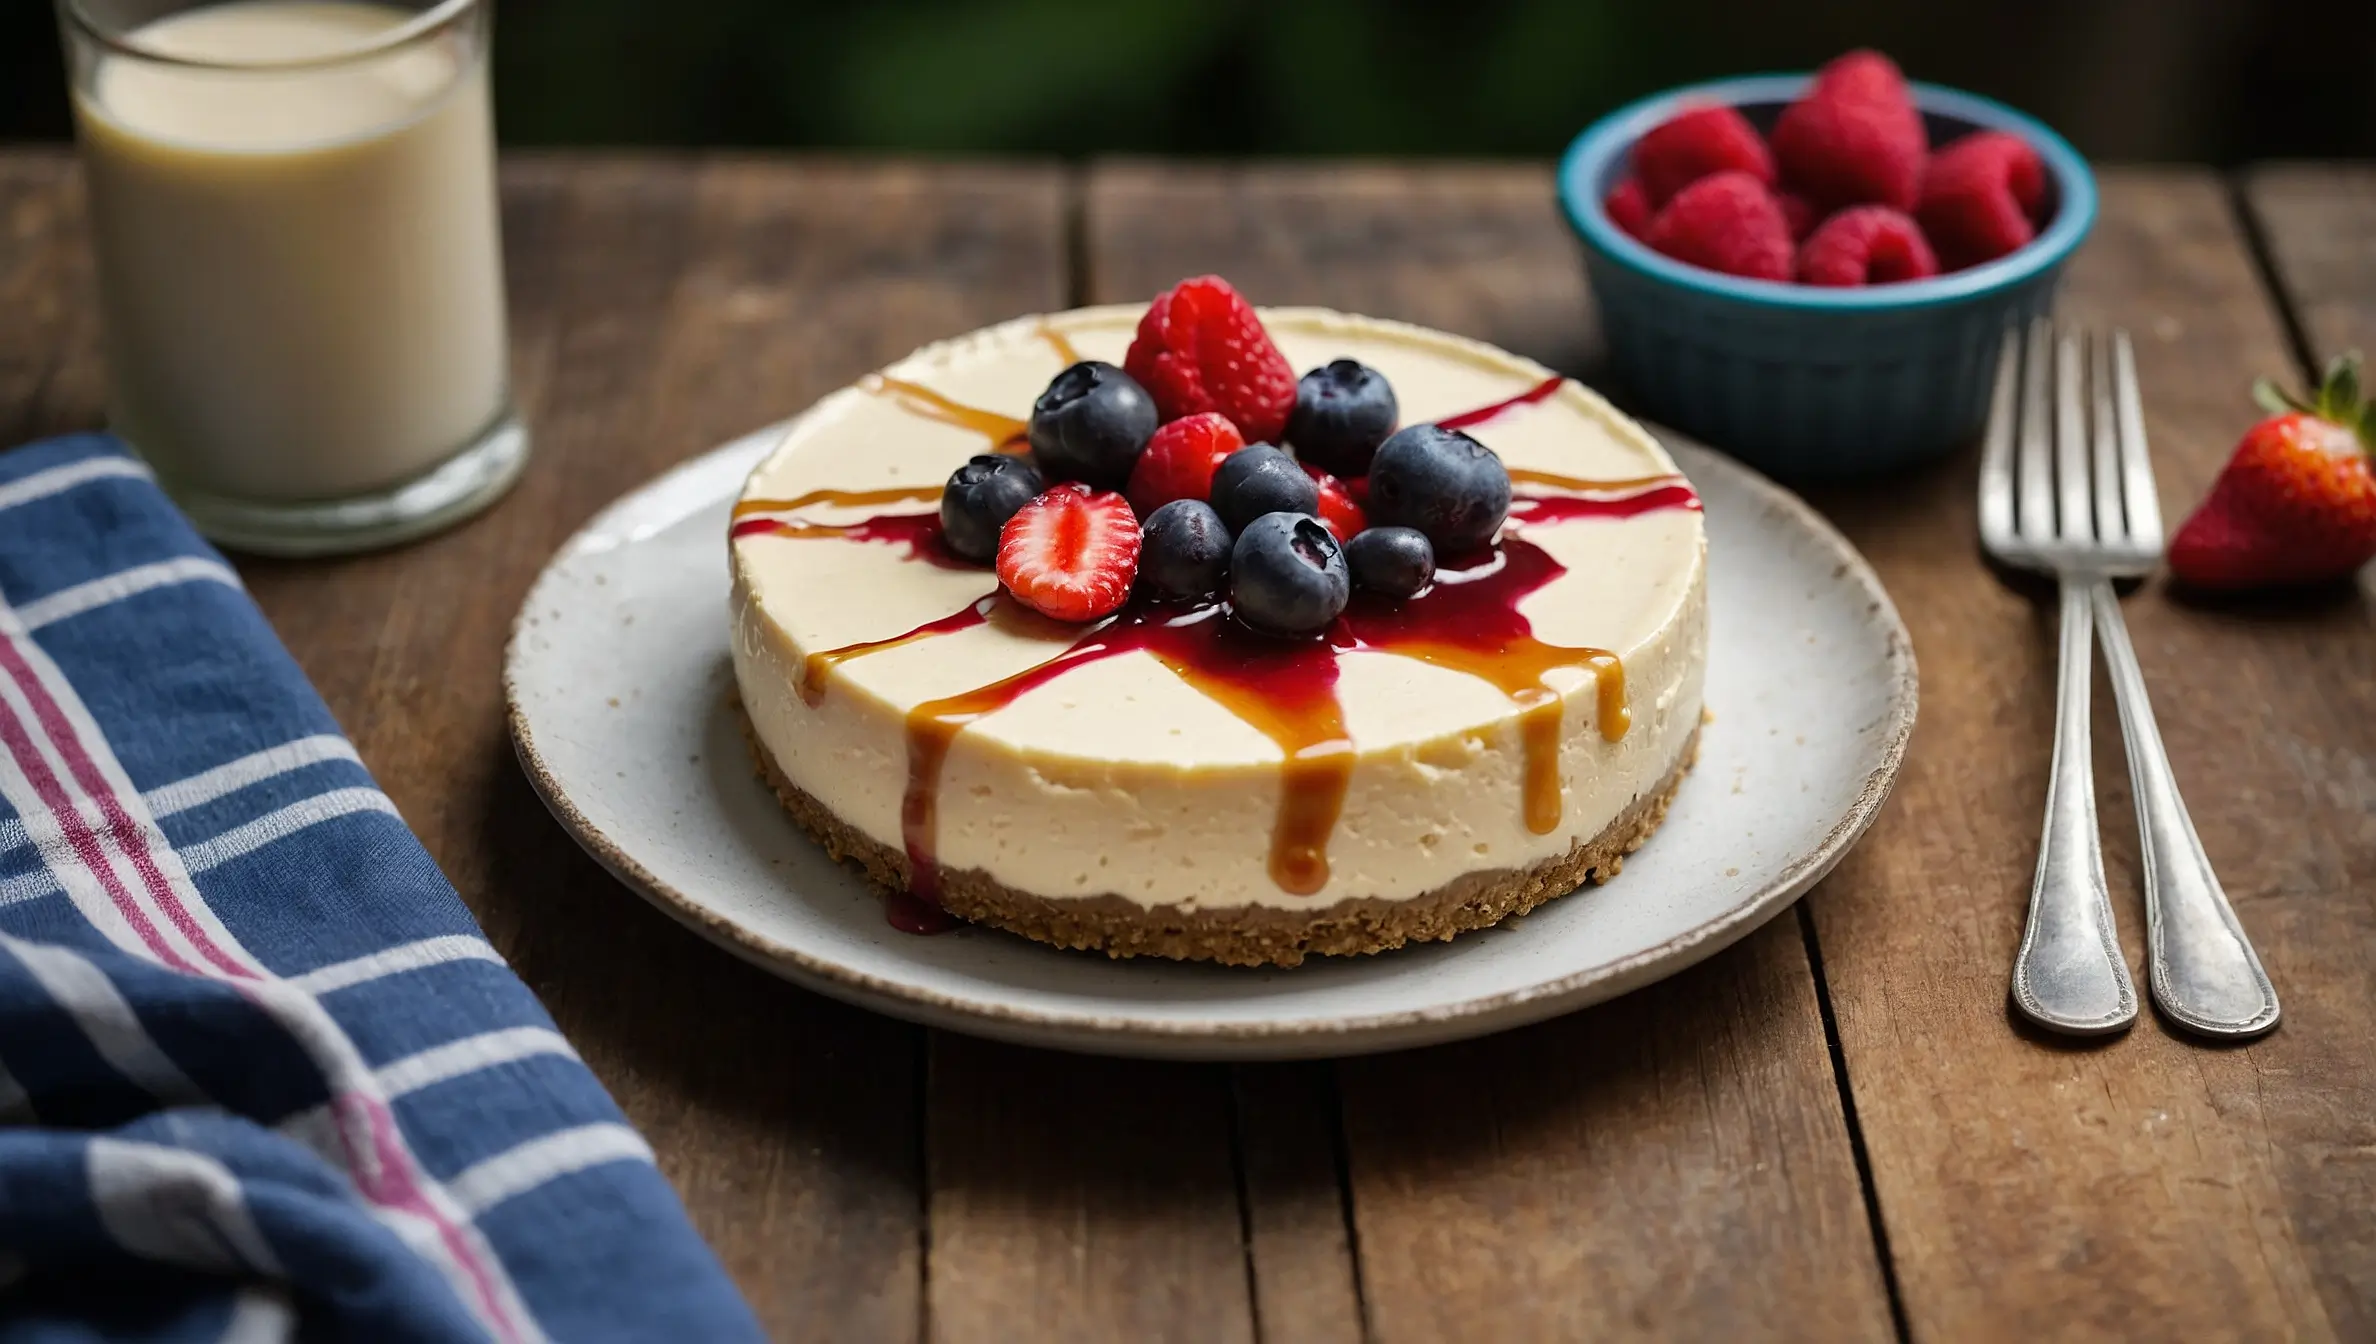
Description: Looking for a quick and easy dessert that’s sure to impress? This 3 Ingredient No Bake Cheesecake is the perfect solution! With just a few simple steps and no oven required, you’ll have a rich and creamy treat ready to delight any crowd. Perfect for celebrations or a simple indulgence, this recipe is as versatile as it is delicious.
- Prep Time: 10 minutes
- Chill Time: 4 hours (or overnight)
- Total Time: 4 hours 10 minutes
- Servings: 8 slices
- Calories: 350 per serving
Ingredients
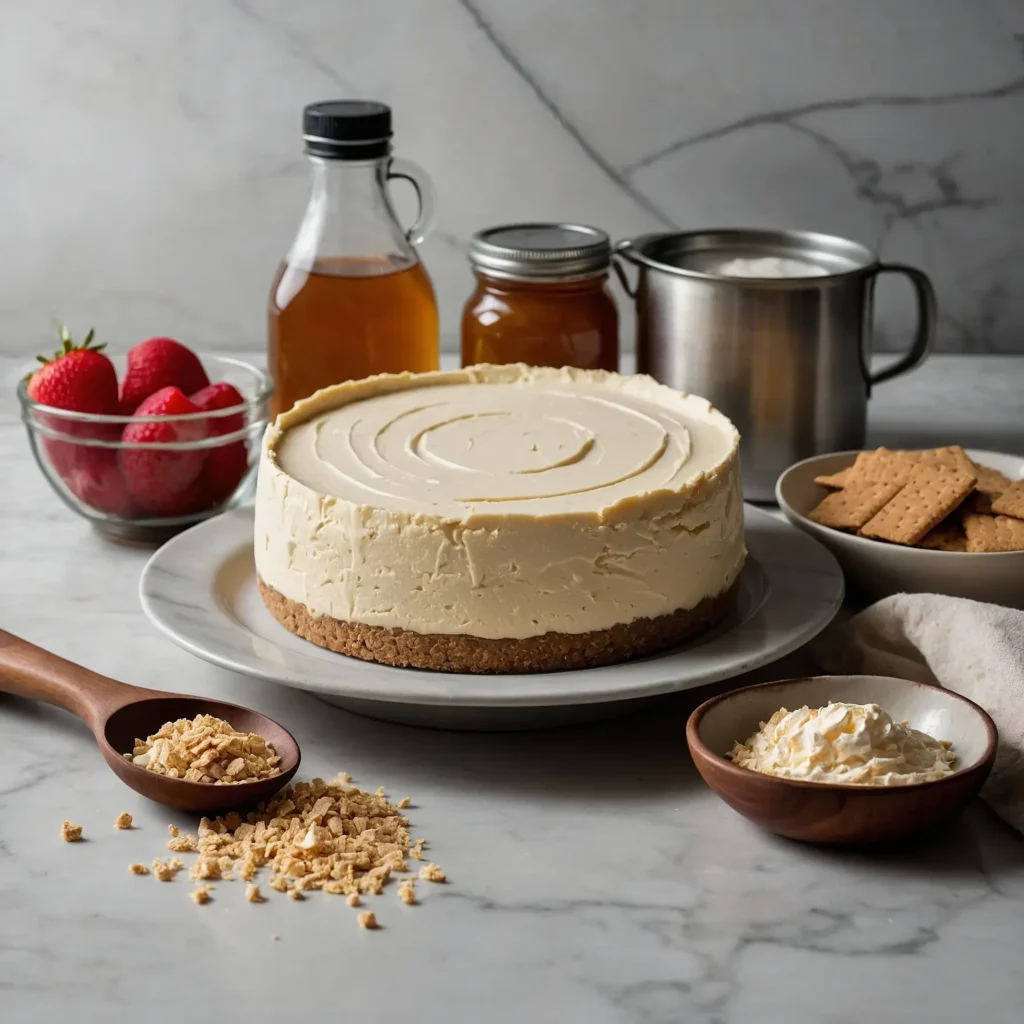
- 2 cups (200g) finely crushed graham crackers or any cookie base you prefer
- 16 oz (approximately 450g) of cream cheese, softened at room temperature
- 1 can (about 14 oz or 400g) of sweetened condensed milk
Instructions
- Create the Base Layer:
- Combine the crushed graham crackers with melted butter if needed for better binding.
- Firmly pack the mixture into the base of your chosen pan, smoothing it out to form a flat and even crust. Place the pan in the fridge to let the crust set while you prepare the filling.
- Prepare the Creamy Filling:
- Place the softened cream cheese in a large mixing bowl and whisk or beat it until it’s silky and lump-free.
- Gradually add the sweetened condensed milk, blending thoroughly until the filling is smooth and creamy.
- Assemble Your Cheesecake:
- Spread the prepared filling evenly over the chilled crust, using a spatula or the back of a spoon to smooth the top for a neat finish.
- Chill and Set:
- Wrap the cheesecake tightly with plastic film to keep it fresh, then refrigerate for at least 4 hours or, for best results, leave it overnight to fully set and firm up.
- Serve and Enjoy:
- Slice the cheesecake and serve as is, or customize it with your favorite toppings, like fresh fruit, chocolate shavings, or a drizzle of caramel.
Notes
- Add 1/4 cup of melted butter to the graham cracker crumbs for a sturdier crust.
- Ensure the cream cheese is softened at room temperature for the smoothest filling texture.
- For a zesty twist, stir in a teaspoon of lemon juice into the filling mixture.
Nutrition Information (Per Serving)
- Calories: 350
- Carbohydrates: 25g
- Protein: 5g
- Fat: 20g
- Sugar: 18g
Why You’ll Love This Recipe
If you’ve been looking for a dessert that’s as simple as it is satisfying, this 3 Ingredient No Bake Cheesecake is exactly what you need! It’s the ultimate choice for anyone craving a delicious treat without the hassle. Here’s why you’ll fall in love with this recipe:
- No Oven Needed: Whether you’re avoiding a hot kitchen or don’t have an oven, this cheesecake is effortlessly prepared in the fridge.
- Just Three Ingredients: With crushed graham crackers, cream cheese, and sweetened condensed milk, this dessert is both budget-friendly and pantry-ready.
- Beginner-Friendly: No complicated techniques or special equipment required—just mix, layer, and chill for a flawless result.
- Customizable to Your Taste: Elevate the flavors with toppings like fresh berries, chocolate curls, or a drizzle of honey. Experiment with different cookie bases for added variety.
- A Dessert for Any Occasion: Its creamy, rich texture and delightful flavor make it a perfect choice for celebrations, casual gatherings, or simply treating yourself after a long day.
How to Make a 3 Ingredient No Bake Cheesecake (Step-by-Step)
Creating this no-bake cheesecake is a breeze! With just three ingredients and a few straightforward steps, you’ll have a luscious dessert that’s sure to impress. Follow this detailed guide for perfect results every time:
Step 1: Prepare the Crust
Start by setting the foundation for your cheesecake:
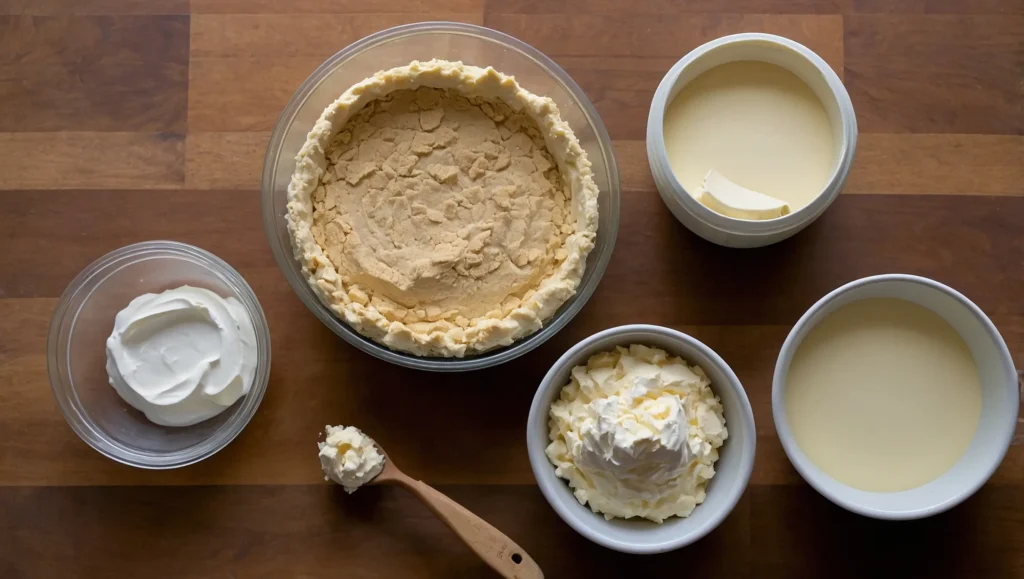
- Crush the Cookies: Use graham crackers or any cookies you prefer. Crush them into fine crumbs using a food processor or by placing them in a bag and rolling over them with a rolling pin.
- Optional Add-In: For added stability, mix the crumbs with a small amount of melted butter.
- Press into Pan: Evenly press the crumb mixture into the bottom of a springform pan or pie dish. Use the back of a spoon or the bottom of a flat glass to smooth it out. Place the pan in the fridge to firm up the crust while you work on the filling.
Step 2: Make the Cheesecake Filling
This step is where the creamy magic happens:
- Whip the Cream Cheese: Place the softened cream cheese in a mixing bowl and beat it until it’s completely smooth. A hand mixer works best for achieving a silky texture.
- Incorporate the Sweetened Condensed Milk: Gradually add the sweetened condensed milk while mixing continuously. Blend well to achieve a perfectly creamy, lump-free filling that’s ready to spread.
Step 3: Assemble the Cheesecake
Bring the components together to form your dessert:
- Spread the Filling: Pour the creamy cheesecake mixture onto the prepared crust. Spread it out evenly using a spatula or the back of a spoon to smooth the top.
- Chill to Perfection: Cover the cheesecake with plastic wrap or foil and refrigerate for at least 4 hours, or leave it overnight for a firmer texture.
Step 4: Serve and Savor
When it’s time to enjoy your cheesecake:
- Slice with Care: Use a sharp knife for clean, neat cuts. For the best results, wipe the blade clean between each slice to keep the edges smooth.
- Add Your Favorite Toppings (Optional): Top with fresh fruit, a drizzle of honey, or even a sprinkle of crushed nuts to make your dessert extra special.
Pro Tips for Success
- Soften the Cream Cheese: Let your cream cheese come to room temperature before mixing to ensure a silky-smooth filling.
- Be Patient: Allow the cheesecake plenty of time to chill and set for the best texture.
- Experiment with Variations: Swap graham crackers for Oreos, digestive biscuits, or other cookies to customize the crust to your liking.
Key Ingredients and Substitutions
This 3 Ingredient No Bake Cheesecake is as simple as it gets, yet each ingredient plays a crucial role in delivering that perfect texture and flavor. Let’s explore the key components and how you can customize them to fit your preferences:
1. Graham Crackers (or Cookie Base)
The crust is the foundation of this dessert.
- Why It’s Essential: Graham crackers provide a firm and slightly sweet base that pairs perfectly with the creamy filling.
- Substitutions: If you don’t have graham crackers on hand, try using digestive biscuits, Oreos, or even gingersnaps for added flavor. For a salty-sweet combination, crushed pretzels work wonderfully.
- Gluten-Free Option: To make this recipe gluten-free, use certified gluten-free cookies or crackers.
2. Cream Cheese
The heart of this cheesecake lies in its creamy texture, courtesy of cream cheese.
- Why It’s Essential: Cream cheese gives the cheesecake its signature velvety consistency and rich flavor. Opting for full-fat cream cheese will provide the best results in terms of texture and taste.
- Substitutions:
- Use light cream cheese or Neufchâtel for a lower-calorie version.
- Dairy-free or vegan cream cheese is a great alternative for those with dietary restrictions.
- Pro Tip: Always allow the cream cheese to soften to room temperature before mixing to avoid lumps and ensure a silky-smooth filling.
3. Sweetened Condensed Milk
This ingredient is what ties the recipe together, adding both sweetness and a creamy consistency.
- Why It’s Essential: Sweetened condensed milk eliminates the need for extra sugar and makes the cheesecake smooth and perfectly sweet.
- Substitutions:
- For a less sweet option, choose low-sugar condensed milk.
- Vegan condensed milk can be used if you’re aiming for a dairy-free dessert.
Creative Ways to Personalize This Recipe
Want to make your cheesecake stand out? Here are some fun and simple ideas to customize it to your liking:
- Add a Flavor Boost: Mix in vanilla extract, a squeeze of lemon juice, or a dash of cinnamon to enhance the filling’s flavor.
- Change Up the Crust: Swap graham crackers for chocolate wafers, Biscoff cookies, or even almond flour for a unique base.
- Incorporate Mix-Ins: Stir in mini chocolate chips, swirls of jam, or crushed nuts to give your cheesecake added texture and flavor.
Expert Tips for Success
Making a 3 Ingredient No Bake Cheesecake is straightforward, but a few simple tips can elevate your dessert from good to unforgettable. Whether you’re a novice or a seasoned cook, these expert tricks will ensure perfect results every time:
1. Soften the Cream Cheese Properly
- Allow the cream cheese to soften at room temperature for about 30 minutes to one hour. This will make it easier to mix and result in a smoother, creamier filling.
- Quick Tip: If you’re in a hurry, cut the cream cheese into smaller pieces to speed up the softening process.
2. Use the Right Tools for the Job
- A hand or stand mixer is your best bet for achieving a silky, lump-free filling, but a sturdy whisk can work in a pinch.
- When pressing the crust into the pan, a flat-bottomed glass or a measuring cup works wonders to create a firm, even base.
3. Chill for the Perfect Texture
- The cheesecake needs at least 4 hours in the refrigerator to fully set. If you have the time, letting it chill overnight will give you an even firmer, more flavorful result.
- Avoid freezing, as this can affect the creamy texture and make the filling slightly grainy.
4. Customize to Your Taste
- Add a personal touch to your cheesecake by mixing in flavors like vanilla extract, lemon juice, or almond extract. A pinch of cinnamon can also add warmth to the flavor profile.
- Top with fresh fruit, chocolate shavings, or even a sprinkle of crushed cookies to match the occasion.
5. Cut with Precision
- To achieve clean, professional-looking slices, use a sharp knife. Dip the blade into warm water, then wipe it dry before making each cut. This prevents the filling from sticking and gives you picture-perfect results.
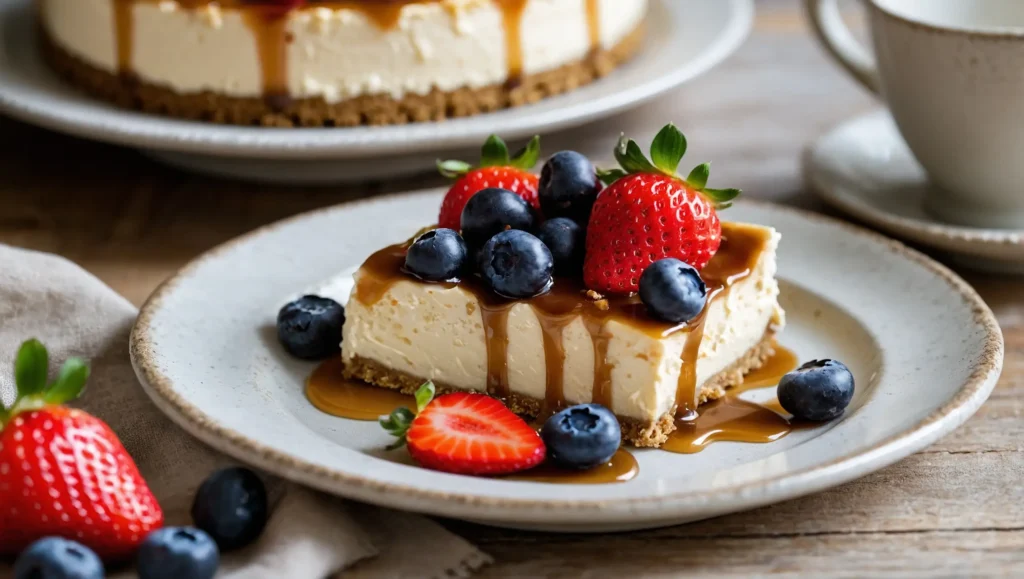
- For added flair, garnish each slice individually with toppings like berries or a drizzle of caramel.
6. Plan Ahead for Convenience
- This dessert is ideal for preparing in advance. Make it up to two days before your event, and store it in the refrigerator until ready to serve.
Variations and Customizations
One of the best things about this 3 Ingredient No Bake Cheesecake is how versatile it is. With just a few tweaks, you can transform this simple dessert into something truly unique that suits your taste and the occasion. Here are some creative variations and customizations to inspire you:
1. Switch Up the Crust
The crust is the perfect canvas for experimentation:
- Chocolate Lovers: Use crushed Oreos or chocolate wafers for a rich, cocoa-infused base.
- Salty-Sweet Fans: Crushed pretzels or salted crackers can add a delightful crunch and contrast to the sweet filling.
- Nutty Flavor: Combine ground nuts like almonds or pecans with a little butter for a flavorful, gluten-free alternative.
2. Add Flavor to the Filling
A few simple additions can enhance the cheesecake’s flavor:
- Citrusy Kick: Mix in a teaspoon of lemon zest or lime juice for a tangy twist.
- Warm and Cozy: Add a pinch of cinnamon, nutmeg, or pumpkin spice for seasonal flair.
- Vanilla Dream: A splash of vanilla or almond extract adds a layer of depth to the creamy filling.
3. Experiment with Toppings
Toppings take your cheesecake to the next level:
- Fresh Fruit: Sliced strawberries, blueberries, or mango add a burst of color and freshness.
- Sauces and Syrups: Drizzle caramel, chocolate sauce, or fruit compote over the top for an indulgent finish.
- Crunchy Add-Ons: Sprinkle crushed cookies, chopped nuts, or even toffee bits for texture.
4. Mini Cheesecakes
Turn this recipe into adorable single-serve portions:
- Use cupcake liners or ramekins to create individual cheesecakes.
- Perfect for parties or portion control, these mini desserts can also be customized with different toppings for variety.
5. Make It Seasonal
Adapt your cheesecake for holidays and special occasions:
- Summer Delight: Top with fresh berries or tropical fruits for a refreshing summer dessert.
- Fall Favorite: Add pumpkin puree to the filling and sprinkle with cinnamon for a festive fall twist.
- Winter Wonderland: Garnish with crushed peppermint candy or a dusting of cocoa powder for a holiday-inspired treat.
Pro Tip: Combine Multiple Ideas
Don’t be afraid to mix and match! A chocolate crust with a citrus-flavored filling and fresh berries on top could be your next masterpiece. The possibilities are endless, so let your creativity guide you.
Storage Instructions
Keep your 3 Ingredient No Bake Cheesecake fresh and delicious with these easy storage tips:
Refrigerator Storage
- Wrap the cheesecake securely with plastic wrap or aluminum foil to protect its flavor and texture.
- When stored properly in the refrigerator, it can remain fresh and ready to enjoy for up to five days.
Freezer Storage
- Cut the cheesecake into individual servings and wrap each slice in plastic wrap.
- Place the wrapped portions in a freezer-safe container or bag to prevent freezer burn.
- Store in the freezer for up to three months to extend its shelf life.
Thawing Instructions
- Move the frozen cheesecake to the refrigerator and allow it to defrost gradually overnight for optimal texture and flavor.
Pro Tips
- Airtight containers are key to preserving freshness and preventing unwanted odors.
- Label the wrapped portions with the date to track how long they’ve been stored.
- Once thawed, avoid refreezing to keep the cheesecake’s creamy consistency intact.
Serving Suggestions
Elevate your 3 Ingredient No Bake Cheesecake with these simple yet creative serving ideas:
1. Go Classic
- Serve as is to enjoy its creamy flavor. Smooth slice edges with a warm knife for a polished look.
2. Add Fresh Fruits
- Top with berries, mango, or kiwi for a pop of color and freshness.
3. Drizzle with Sauces
- Enhance with chocolate, caramel, or fruit syrup for added indulgence.
4. Sprinkle on Texture
- Add crushed cookies, toasted nuts, or cocoa powder for a decorative finish.
5. Pair It Perfectly
- Serve with whipped cream, ice cream, or coffee for an extra treat.
Frequently Asked Questions (FAQs)
What can I use instead of graham crackers for the crust?
You can easily substitute graham crackers with other options like Oreos, digestive biscuits, or shortbread cookies. For a unique twist, try crushed pretzels or even nuts for a gluten-free version.
Can I make this recipe vegan or dairy-free?
Absolutely! Swap the cream cheese with a dairy-free alternative, such as vegan cream cheese, and use sweetened condensed coconut milk to create a plant-based cheesecake.
Do I need a springform pan?
No, a springform pan isn’t essential. A pie dish, square baking pan, or even individual ramekins work just as well. For easier serving, line the pan with parchment paper.
Related Recipes
If you loved making this 3 Ingredient No Bake Cheesecake, you’ll enjoy exploring these other simple and delightful dessert recipes. Each one is easy to prepare, packed with flavor, and perfect for any occasion.
- No-Bake Chocolate Mousse Pie: Indulge your chocolate cravings with this creamy, rich mousse pie. With just a few ingredients and no oven required, it’s an effortless way to impress guests.
- Lemon Icebox Cake: Bright and zesty, this dessert layers lemon-flavored cream with graham crackers for a refreshing treat. It’s perfect for warm-weather gatherings or as a light after-dinner option.
- Peanut Butter No-Bake Bars: For a sweet and salty combo, these no-bake bars combine peanut butter, chocolate, and a crunchy base. They’re great for snacking or as a quick dessert.
Conclusion
Creating a 3 Ingredient No Bake Cheesecake is a testament to how simple ingredients and minimal effort can result in something truly delightful. Whether you’re making it for a family gathering, a special occasion, or just to satisfy a sweet craving, this recipe delivers on flavor, versatility, and ease.
With its creamy texture, customizable crust, and endless topping options, this cheesecake is the perfect blank canvas for your culinary creativity. From fruity drizzles to decadent chocolate swirls, the possibilities are endless, ensuring there’s a version of this dessert to please everyone.
The best part? You don’t need to be a seasoned baker to master it. With a few tips, a little patience, and the right ingredients, anyone can create a dessert that looks and tastes like it came straight from a bakery.
So grab your ingredients, follow the steps, and treat yourself to a dessert that’s as fun to make as it is to eat. Once you’ve tried it, don’t forget to share your variations and experiences—I’d love to hear how you made this cheesecake your own! Happy no-baking!